When it comes to maintaining your home’s roof, many homeowners often think of replacement as the only solution for significant damage or aging. However, roof restoration in Atlanta is a highly effective and underutilized option that can breathe new life into your existing roof. Unlike replacement, which involves removing and installing a completely new roof, restoration focuses on revitalizing your current roof to extend its lifespan and enhance its performance.
By choosing roof restoration, you not only save on costs compared to full replacement but also address issues like leaks, damage, and deterioration. This approach can help you preserve the integrity of your roof while maintaining its appearance and functionality.
Let’s explore 10 essential tips for planning and executing a successful roof restoration, ensuring that you can make the most of this valuable option and keep your home protected for years to come.
Step #1 Assess Your Roof’s Condition & Find the Problems
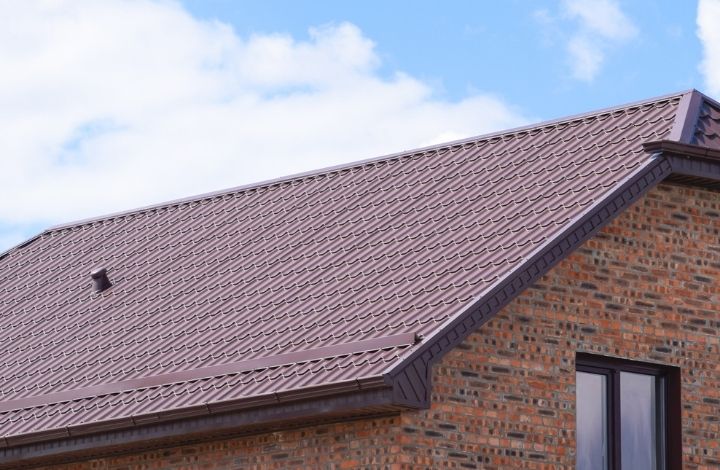
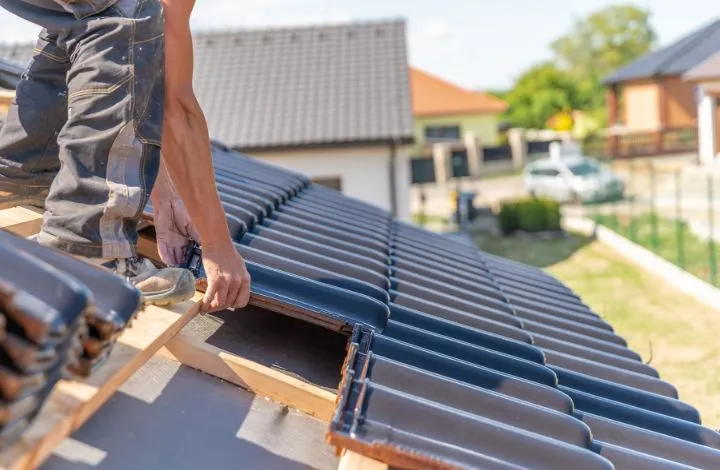
Before hiring Roofing Replacement Services, it’s crucial to start with a thorough assessment of your roof’s current condition. Look for visible signs of damage such as cracked or missing shingles, leaks, or areas where the roofing material is sagging. If your roof is older or shows significant wear, consider hiring a professional inspector to evaluate its overall health. A detailed inspection will help you understand the extent of repairs needed and prevent unforeseen issues during the restoration process. Addressing these problems early ensures that your restoration efforts are effective and long-lasting.
Here are some key indicators that your roof might be due for a restoration:
- Visible Damage: Missing or cracked shingles, warping, or loss of granules.
- Unwelcome Guests: Water leaks inside your home.
- Uneven Terrain: Sagging or uneven roof areas.
- Green Thumb on the Wrong Roof: Moss and algae growth.
- Unexpected Bills: Increased energy bills.
- Inside Scoop: Signs of moisture damage like mold or mildew.
- Age & Wisdom: Roof older than 20 years.
- Structural Issues: Noticeable sagging or other structural concerns.
- Flashing Problems: Damaged or missing flashing around vents and chimneys.
- Granule Loss: Excess granules in gutters.
Step #2 Set a Realistic Budget
Setting a realistic budget is crucial for a successful roof restoration. Start by assessing the scope of your project, including the areas needing repair or replacement. Get a professional evaluation to determine the extent of damage and necessary repairs. Research the costs of materials and labor in your area to get a baseline estimate. Don’t forget to factor in additional expenses such as permits and inspections, and set aside a contingency fund of 10-15% of your budget for unexpected issues. Obtain multiple quotes from contractors to ensure competitive pricing and review what each quote includes.
If needed, explore financing options and understand their terms. Prioritize essential repairs and high-quality materials while sticking to your budget. Finally, plan for future maintenance costs to prolong the life of your roof. A well-planned budget will help you manage your project smoothly and avoid financial surprises.
Step #3 Understand and Plan for Roof Restoration Process
Effective planning is crucial to ensure a smooth roof restoration project. Here’s a detailed roadmap to guide you through the process:
| PHASE | DETAILS |
|---|---|
| Pre-Restoration (1-2 weeks) |
|
| Restoration Days 1-3 |
|
| Restoration Days 4-7 |
|
| Post-Restoration | Final Walk-Through and Warranty: Conduct a walk-through with your contractor to inspect the completed work. Address any concerns and ensure you receive warranty documentation for the materials and workmanship. This step confirms that the project meets your expectations and secures your investment. |
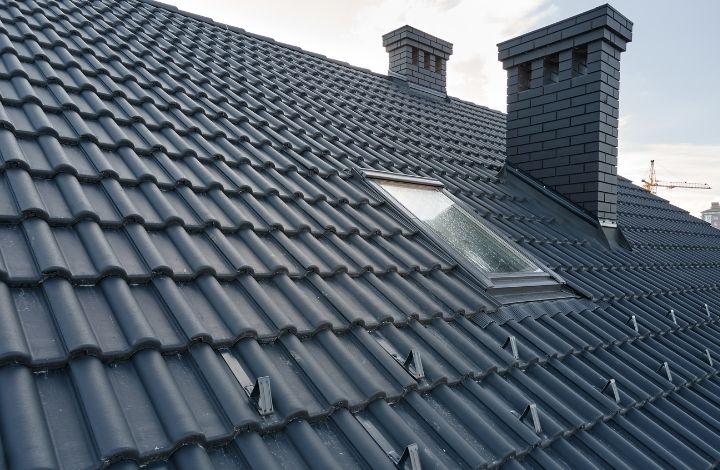
Step #4 Choose the Right Materials
Selecting the right materials for your roof restoration in Atlanta is vital for durability and performance. Different roofing materials offer varying benefits. Asphalt shingles are affordable and versatile, while metal roofing provides long-lasting durability and energy efficiency. Tile roofs are aesthetically pleasing and durable but may be more expensive. Consider factors such as your local climate, budget, and personal style preferences when making your decision. Consulting with a roofing professional can provide valuable insights and help you choose the best material for your home’s needs.
Choose high-quality sealants and paints:
Investing in high-quality sealants and paints ensures better protection and longevity for your roof restoration project. Here’s what to consider:
Sealants:
- Silicone Sealants: Ideal for their flexibility and weather resistance, perfect for sealing around roof penetrations like vents and flashings.
- Asphalt Sealants: Suitable for flat roofs, providing good waterproofing at an affordable price, though less flexible.
- Elastomeric Sealants: Combine the waterproofing of asphalt with the flexibility of silicone, making them ideal for complex roof shapes.
Paints:
- Acrylic Roof Coatings: Versatile, affordable, and good at reflecting sunlight, which can help reduce energy costs.
- Silicone Roof Coatings: Offer superior resistance to UV rays and extreme weather, making them ideal for harsh climates but at a higher cost.
- Metal Roof Coatings: Designed specifically for metal roofs, preventing rust and heat gain while enhancing aesthetics.
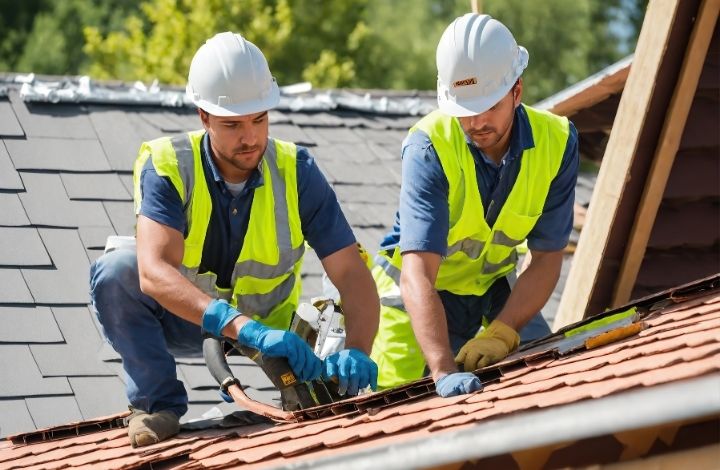
Step #5 Find the Right Roofing Contractor
Selecting a reliable roofing contractor is essential for a successful roof restoration. Follow these steps to find the right professional for your project:
- Research and Recommendations: Start by researching local roofing contractors. Ask friends, family, and neighbors for recommendations based on their experiences.
- Check Credentials: Verify that the contractor is licensed, insured, and bonded. This ensures they meet industry standards and provides protection for you in case of accidents or damage.
- Read Reviews and Ratings: Look up online reviews and ratings on platforms like Google, Yelp, and the Better Business Bureau. Pay attention to customer feedback and overall satisfaction.
- Evaluate Experience: Choose contractors with substantial experience in roof restoration. Ask for examples of past projects similar to yours.
- Request Multiple Quotes: Obtain and compare quotes from at least three contractors. Ensure each quote details the scope of work, materials, and costs.
- Ask for References: Request references from previous clients and follow up with them to gauge their satisfaction with the contractor’s work.
- Review Contracts Carefully: Read the contract thoroughly before signing. Ensure it includes all agreed-upon details, such as the timeline, materials, and warranty information.
- Communication and Professionalism: Choose a contractor who communicates clearly, is responsive to your questions, and demonstrates professionalism throughout the process.
Step #6 Plan for Weather Conditions
Weather can greatly influence the progress of your roof restoration. To minimize delays, monitor weather forecasts and plan your restoration around favorable conditions. Roofing work can be interrupted by rain, snow, or high winds, so having a flexible schedule and contingency plan is important. Ensure your contractor is prepared for weather-related challenges and has strategies in place to protect your home during inclement weather. Proper planning will help keep the restoration process smooth and efficient.
Step #7 Communicate Clearly with Your Contractor
Effective communication with your contractor is crucial for a successful roof restoration. Set clear expectations regarding the project’s scope, timeline, and budget. Regularly check in to receive updates on progress and address any concerns promptly.. Here’s how to ensure clear communication:
- Set Clear Expectations: Discuss the project’s scope, timeline, and budget.
- Regular Updates: Schedule regular check-ins to stay informed about progress.
- Address Concerns: Promptly discuss any issues or changes with your contractor.
Clear communication helps prevent misunderstandings and ensures that the project stays on track.
Step #8 Prepare Your Property
Preparing your property for the process helps protect your home and minimize disruptions before you hire professional Roofing Replacement Services. Follow these steps to get your property ready:
- Clear the Area: Remove any outdoor furniture, decorations, or vehicles from around your home to provide clear access for the roofing crew and prevent potential damage.
- Protect Plants and Landscaping: Cover shrubs, plants, and flower beds with tarps or plastic sheeting to shield them from falling debris and dust.
- Secure Loose Items: Bring in or secure any loose items around your home, such as garden tools or children’s toys, to avoid them getting damaged or interfering with the restoration work.
- Move Indoor Items: Move valuables or delicate items from rooms directly under the roof to avoid any dust or potential water damage that might occur during the project.
- Provide Access: Ensure that the roofing crew has easy access to your property. Clear driveways and walkways and make sure any necessary gates or doors are unlocked.
- Notify Neighbors: Inform your neighbors about the upcoming work, especially if the restoration process might be noisy or disruptive. This can help minimize any inconvenience and foster good relations.
- Check for Permits: Verify if any permits are needed for the roof restoration and ensure they are obtained before work begins. Your contractor may handle this, but it’s good to confirm.
- Safety Precautions: Ensure pets and children stay away from the work area to avoid accidents. Clearly mark off areas that are off-limits.
Step #9 Inspect the Completed Work
Once the restoration is complete, conduct a thorough inspection of the work. Check for any issues or imperfections, such as improperly installed shingles or visible gaps. Make sure that all aspects of the restoration meet your expectations and the agreed-upon scope of work. If you notice any concerns, address them with your contractor before finalizing payment. A detailed inspection ensures that you’re satisfied with the results and that any necessary adjustments are made promptly.
Step #10 Maintain Your Roof Regularly
After a successful roof restoration, ongoing maintenance is essential to extend the lifespan of your roof. Schedule regular inspections to identify and address any minor issues before they become major problems. Keep gutters clean, inspect for signs of damage, and address any repairs as needed. Regular maintenance helps protect your investment and ensures that your roof continues to perform effectively. Establishing a maintenance routine will contribute to the long-term health and durability of your restored roof.
Conclusion
Roof Restoration in Atlanta can be a valuable alternative to replacement, offering both cost savings and enhanced performance. By following these 10 essential tips—from assessing your roof’s condition to selecting quality materials and managing the project—you can ensure a successful restoration.
When it comes to ensuring your roof is in top condition, Outdoor Makeover Roof & Exteriors is your go-to choice in Atlanta. As the #1 roofing company in the area, we take pride in our comprehensive 21-Point Roof Inspection, which guarantees that every detail is checked for optimal performance and durability. Whether you need a thorough inspection, expert installation, or a complete replacement, our team is dedicated to protecting your home and providing peace of mind.
Contact us today to schedule your inspection and experience the difference that comes with working with the best in the business.
 10 Things You Should Know Before Doing A Roof Restoration
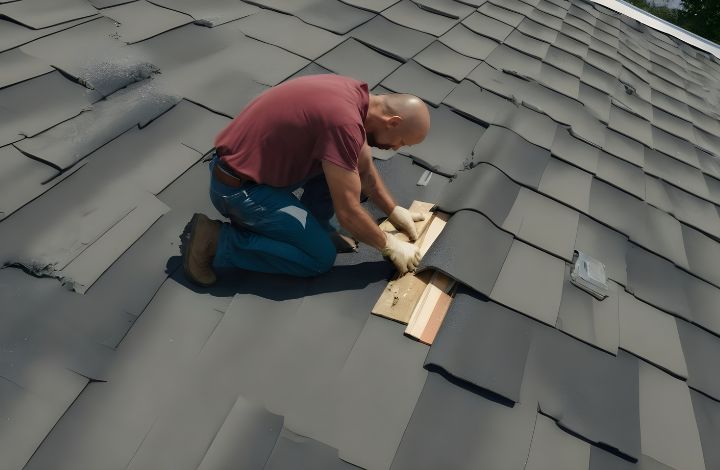 5 Key Signs Your Home Needs Roof Restoration
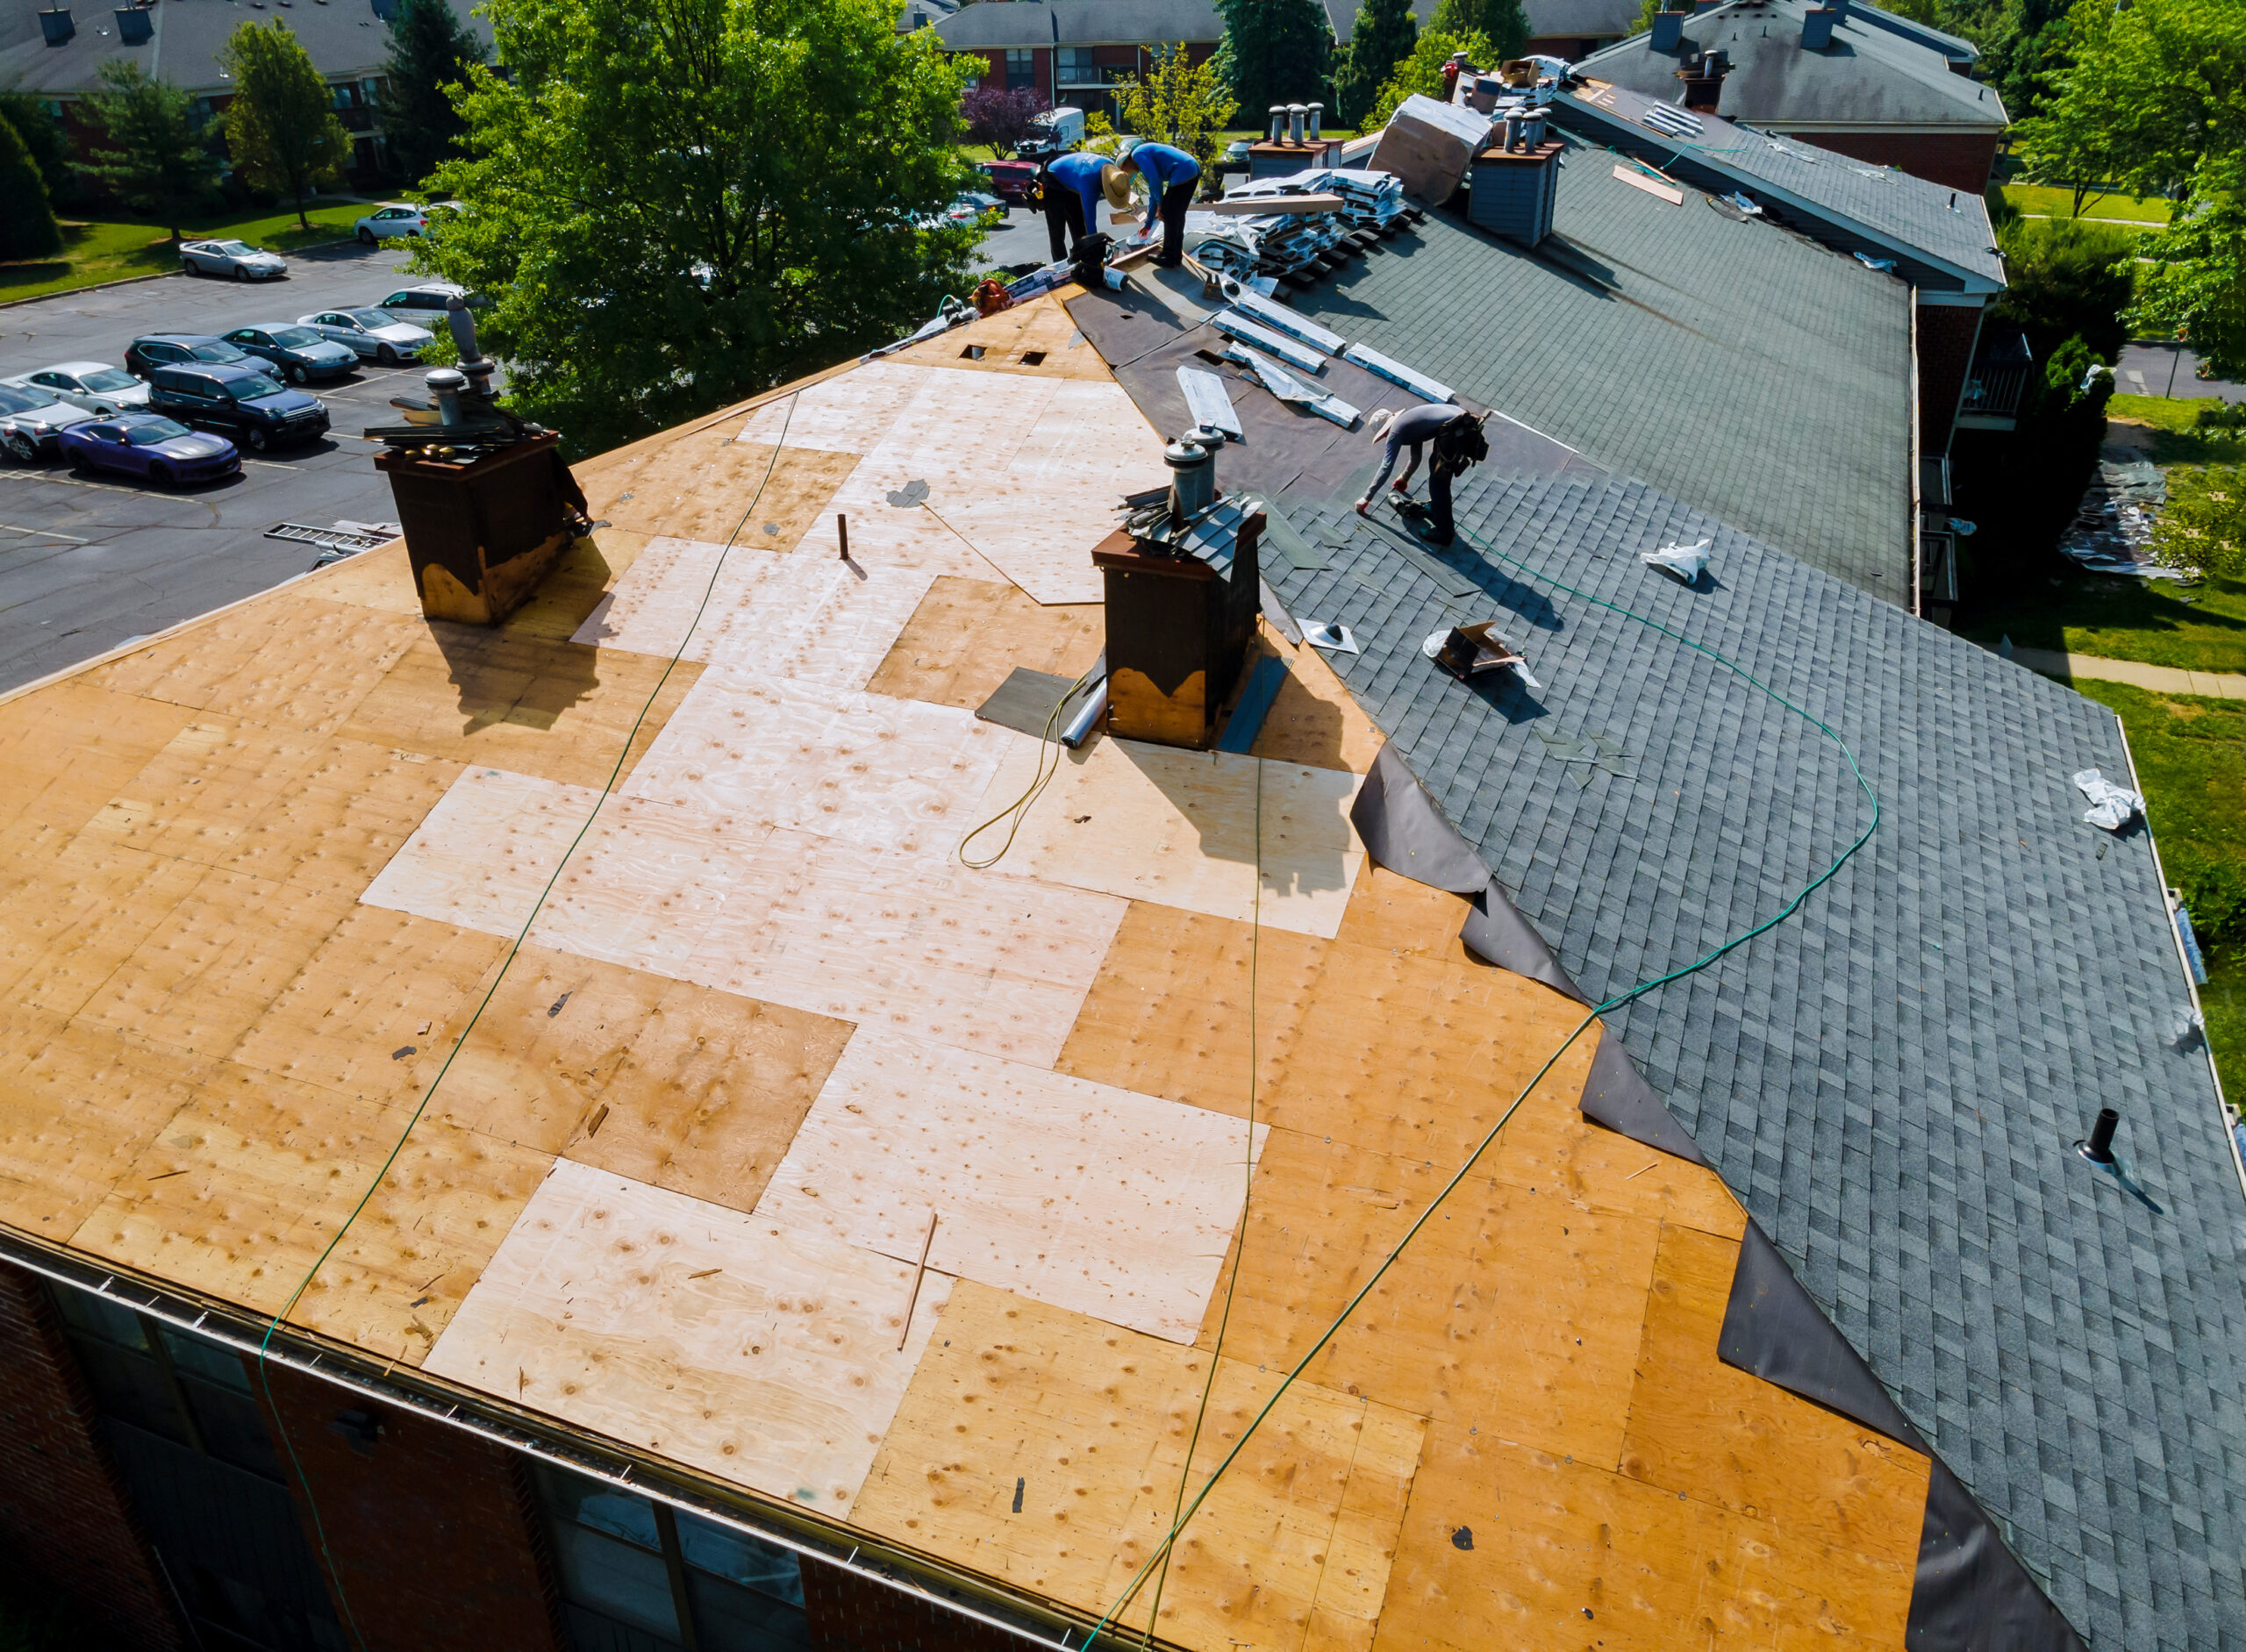 Signs You Need a Roof Restoration or a Roof Replacement
LET'S BE SOCIAL: