Most individuals don’t consider their roofs until they have an issue. However, your roof is one of the most significant components of your home, and it needs constant maintenance and attention. A healthy roof protects you from the elements while improving your property’s beauty and curb appeal. When it comes to replacing your existing roof or creating a new home from scratch, it’s critical to understand the fundamentals of roofing installation.
In this comprehensive guide, we’ll review several key components of roof installation services in Atlanta. We cover every shingle, from choosing the best roofing material for your individual needs to contacting experienced roofers and comprehending the installation procedure.
The Basic Procedure
Here are the fundamentals in a nutshell:
- Tear off the old roof. Rent a dumpster to make your life easier and avoid making multiple journeys to the landfill in a truck.
- Replace any damaged or rotten decking.
- Install any new vents you may require. If your attic lacks adequate ventilation, now is a terrific time to install new roof vents, and if you’ve always desired a skylight, here is your opportunity.
- Lay the underlayment. Codes in extreme weather areas require self-adhesive waterproof underlayment, sometimes known as a “ice barrier.” Otherwise, a single layer of 15-lb. felt underlayment (tar paper) is usually sufficient, unless local rules require 30-lb., which is heavier and more water-resistant.
- Install flashing in valleys and around dormers.
- Put a nail in the shingles.
- Apply roofing sealant as needed.
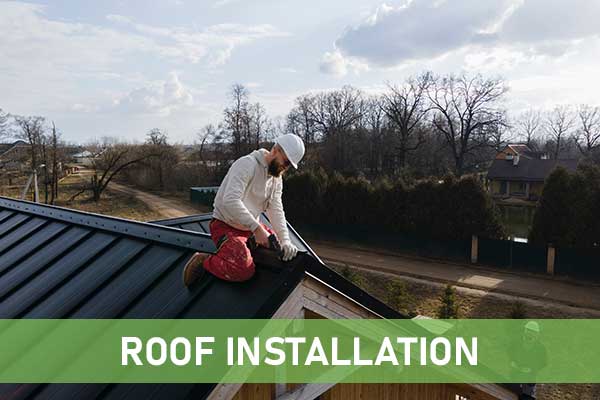
Key Steps for Roof Installation
1. Initial Assessment
Before diving into roof installation services, it’s crucial to assess your current situation. Start by inspecting your existing roof for any damage or issues that need addressing. Look for signs of wear, such as curling or missing shingles, sagging areas, or visible leaks in your attic. These observations will help you understand the scope of work needed.
Pay special attention to:
– The condition of shingles or tiles
– The state of flashing around chimneys, vents, and skylights
– Any visible sagging or dips in the roof line
Next, evaluate your home’s specific needs. Consider factors like climate, local weather patterns, and your home’s architecture. Do you need better insulation to combat harsh winters? Or perhaps improved ventilation to handle hot summers? Understanding these needs will guide your choices in materials and installation methods.
2. Budgeting and Financing
Setting a realistic budget is a critical roof installation step. On average, a new roof can cost anywhere from $5,000 to $15,000, depending on the size of your home and the materials chosen. Factor in potential additional costs like removing the old roof or repairing underlying structures.
Here’s a summary of the costs you should consider:
- Roofing materials: 40-50% of total cost
- Labor: 30-40% of total cost
- Removal of old roof: 10-15% of the total cost
- Miscellaneous (permits, disposal, etc.): 5-10% of total cost
Don’t let the cost hold you back—there are various financing solutions available. Many roofing companies offer payment plans, and you might also consider home improvement loans or home equity lines of credit.
Remember, a quality roof is an investment in your home’s longevity and value. It’s often worth spending a bit more upfront for better materials and experienced installation to avoid costly repairs down the line.
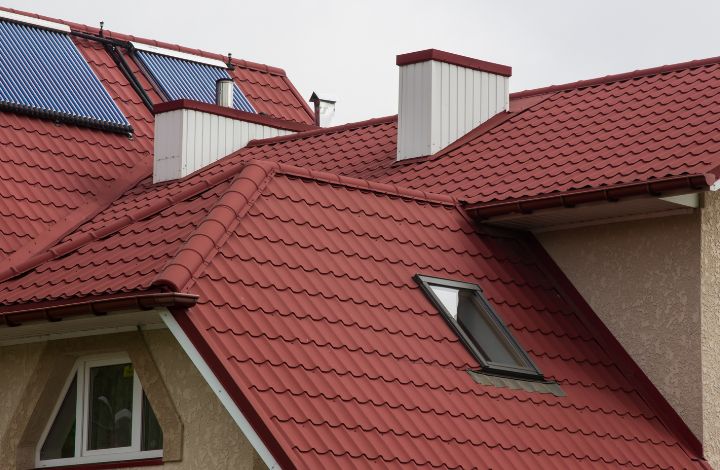
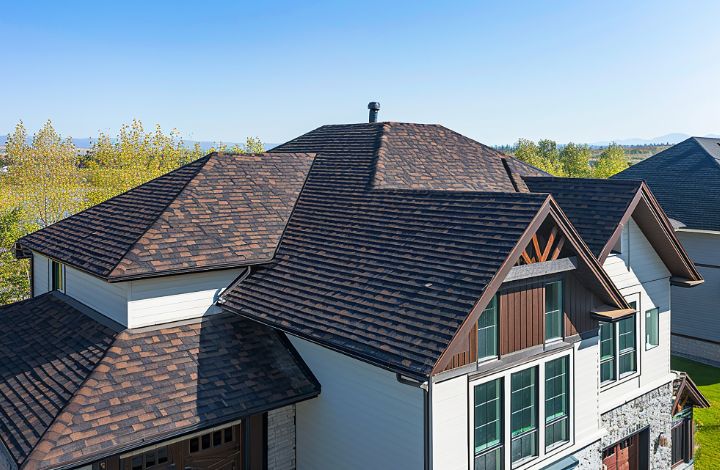
3. Material Selection
Choosing the right roofing material is a crucial decision that impacts both the aesthetics and functionality of your home. Here are some popular options:
| Roofing Material | Description | Pros | Cons |
|---|---|---|---|
| Asphalt Shingles | Affordable and versatile, the most common choice for residential roofs. Available in various colors and styles. | Good durability for their cost | Shorter lifespan compared to other options |
| Metal Roofing | Durable and energy-efficient, ideal for areas with extreme weather. | Long-lasting, energy-efficient | Higher initial cost |
| Tile Roofing | Distinctive look with excellent longevity. Requires a sturdy home structure. Clay or concrete tiles can last up to 100 years. | Long lifespan, distinctive appearance | Heavy, expensive, and may require extra support |
| Slate | Natural and long-lasting, offers unparalleled beauty and durability. | Extremely durable, aesthetically pleasing | Very expensive, heavy, and challenging to install |
| Wood Shakes | Provide a natural, rustic look. Eco-friendly but require more maintenance. | Eco-friendly, attractive, natural appearance | High maintenance, prone to fire and insects |
Consider your climate, budget, and the architectural style of your property before making a decision. For example, if you live in a hot environment, light-colored roofing materials might assist reflect sunlight and keep your house cool. Consider using fire-resistant materials such as metal or tiles in high-risk areas.
Don’t be afraid to seek roofing pros for guidance on the best materials for your individual scenario. They can provide information about local building codes, energy efficiency ratings, and durability elements you may not have considered.
Choosing the Right Roofing Service
1. Research and Recommendations
Finding the appropriate roof installation services is equally crucial as selecting the right materials. To identify reputable roofing providers, ask your friends, family, and neighbors for references. Their firsthand knowledge can provide useful insights regarding local contractors’ dependability, craftsmanship, and customer service.
Next, use online resources. Check out review websites such as Angi (previously Angie’s List), HomeAdvisor, Yelp, and more. Check local business directories and social media sites for comments on local roofing providers. Pay attention to:
– Overall ratings and number of reviews
– Consistency in positive feedback
– How recent the reviews are
– The company’s responses to negative reviews
Look for consistently positive reviews and pay attention to how companies respond to negative feedback – it can tell you a lot about their customer service and commitment to client satisfaction.
2. Evaluating Roofing Contractors
Once you’ve narrowed down your options, it’s time to vet potential contractors. Here’s what to look for:
– Proper Licensing and Insurance: Ensure they’re licensed to work in your area and carry both liability insurance and workers’ compensation. Don’t hesitate to ask for proof of these documents.
– Portfolio of Work: Ask to see examples of their previous projects, especially ones similar to yours. It will clarify you about their expertise and the work quality.
– Years of Experience: While newer companies can do excellent work, those with a longer track record in your area often have more extensive experience with local building codes and climate considerations.
– Warranty Offerings: Inquire about both manufacturer warranties on materials and the contractor’s warranty on labor.
Don’t be shy about asking for references and following up with them. A reputable roofing contractor will be comfortable and happy to share this information.
3. Getting and Comparing Quotes
Get quotes from at least three different contractors. Each quote should include:
– Detailed scope of work
– Materials to be used, including brands and product lines
– Estimated timeline for the project
– Warranty information for both materials and labor
– Total cost breakdown, including any potential additional charges
When comparing quotes, don’t automatically go for the lowest price. Consider the quality of materials, the contractor’s reputation, and the warranty offered. Look for transparency in pricing – a good contractor will be happy to explain each line item in their quote.
Remember, the cheapest option upfront might end up costing more in the long run if the work is subpar. A slightly higher quote from a reputable contractor with quality materials might save you money on repairs and replacements over time.
Preventing Water Damage During and After Installation
1. Preparing for Installation
Proper preparation can go a long way in preventing water damage during roof installation. Start by protecting your property:
– Protect landscape and outdoor furniture with tarps to prevent falling debris.
– Remove valuables from your attic or upper floors.
– Trim any overhanging tree branches that may interfere with the process or cause harm to your new roof.
– Clear your driveway and neighboring street parking to make place for work vehicles and material deliveries.
If you’ve had previous water damage issues, make sure they’re fixed before the new roof goes on. This may involve:
– Repair or replace damaged wood in the roof framework.
– Eliminating mold and mildew in the attic – Improving ventilation to minimize moisture buildup
Discuss any current water damage or concerns with your roofing contractor. They may need to modify their strategy or materials to successfully handle these difficulties.
2. During Installation
Stay vigilant during the installation process. While you shouldn’t interfere with the workers, keep an eye out for:
– Proper usage of underlayment to add another layer of protection against water infiltration. This is especially critical if there is a possibility of rain during the installation.
– Correctly install flashing around chimneys, vents, and other roof penetrations. Proper flashing is critical to preventing leaks in these sensitive places.
– Proper sealing of all joints and seams. This is especially critical for avoiding wind-driven rain from getting inside your home.
– Properly construct drip edges along the roof’s perimeter to direct water into gutters and away from your home’s foundation.
Don’t be afraid to ask inquiries if something doesn’t appear right. A professional contractor would be delighted to explain their approach and answer any questions you may have.
3. Post-Installation Checks
After the roof is installed, conduct a thorough inspection. Look for:
– Even application of shingles or other roofing materials
– Proper sealing around vents, chimneys, and other penetrations
– Clean gutters and downspouts, ensuring they’re properly attached and positioned
– No visible gaps or exposed underlayment
– Proper overhang of shingles at the edges of the roof

Schedule a follow-up inspection a few months after installation, especially after heavy rain or snow. This can help catch and address any issues early on, potentially saving you from costly water damage repairs down the line.
Consider implementing a regular roof maintenance plan, including:
– Annual inspections by a professional
– Regular gutter cleaning
– Prompt addressing of any visible damage or wear
By staying proactive, you can extend the life of your new roof and prevent water damage to your home.
Do You Need a Roof Installed in Atlanta?
As you now understand, good roof installation is critical. If you want to avoid roof leaks, roof damage, mold, vermin, and other unpleasant consequences that occur with faulty roof installation, you must do it right the first time.
Outdoor Makeover Roof & Exteriors. With years of experience in roof installation services, we can manage projects of any size and complexity. Our professionals can assist you with every step of the process, from initial assessment to material selection and installation. If you’re looking for options, we can show you different material types, go over the different levels of warranty, or walk you through the insurance process.
Don’t allow roofing concerns dampen your spirits – contact us today for a consultation and take the first step toward a safe, beautiful new roof.
 How to Find a Reliable Roofing Contractor for your Roof Installation
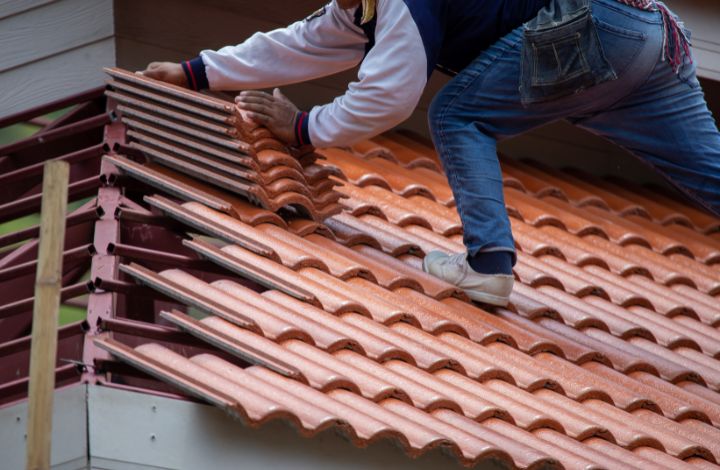 The Ultimate Guide to the Roof Installation Process
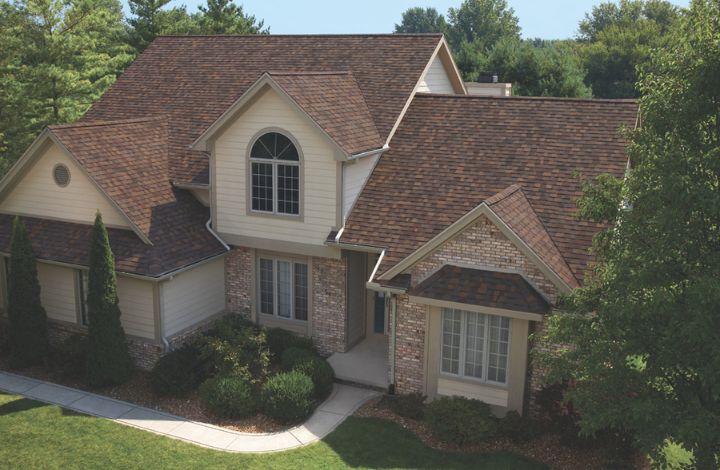 The Role of Roof Inspections Before and After Installation
LET'S BE SOCIAL: